
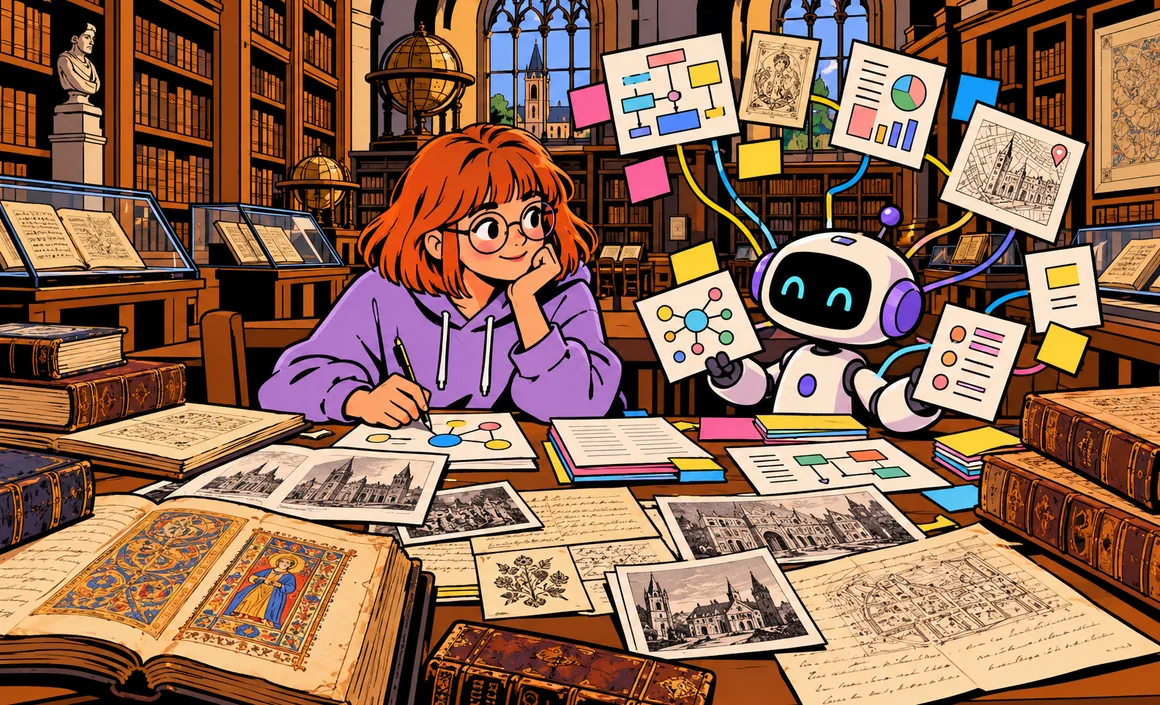
A folder of twenty documents to get through before a meeting, class material to study, a technical report packed with jargon, a stack of articles for a thesis: when you’re working with your own documents, a general-purpose chatbot isn’t always the best tool. You have to paste the context back in every time, and you’re never quite sure whether it’s answering from your files or from its general knowledge.
That’s exactly the problem NotebookLM solves: it’s Google’s tool for working on your documents with AI. First, an important note: since Google’s announcement on July 16, 2026, NotebookLM is officially called Gemini Notebook. It’s the same standalone product, now more tightly integrated with Gemini and the Google ecosystem. Since a lot of people still search for it under its old name, I’ll call it NotebookLM (Gemini Notebook) here. In this guide, I’ll walk you through how to use it step by step, with ready-to-copy prompts, its limits and the precautions to take.
Key takeaways
- NotebookLM has officially been called Gemini Notebook since July 16, 2026: it’s the same tool.
- You create a notebook, add your sources, and the AI answers based on those sources, with citations.
- Standard version: up to 100 notebooks and 50 sources per notebook.
- The tool also generates audio and video overviews, slide decks, infographics, reports, flashcards and quizzes.
- You still need to check the answers: click the citations to reread the original passage.
Information checked on September 29, 2026.
Contents
- What exactly is NotebookLM?
- What the standard version lets you do
- How to use NotebookLM step by step
- Ready-to-copy prompts for working with your documents
- Generate materials from your sources
- My four-step method for working through a set of documents
- Real-life use cases
- Limitations and precautions
- Frequently asked questions
- The bottom line
What exactly is NotebookLM?
NotebookLM (Gemini Notebook) is a workspace where Google’s AI relies on the documents you give it. Each project is a “notebook”: you gather your sources there (documents, files and other imported content), then ask questions, request summaries or generate materials.
The big difference from a regular chatbot is that it’s grounded in your sources: answers are based on your documents and come with citations that point to the passages used. For me, that’s what sets it apart: you can check where every claim comes from in one click.
If you already use Gemini, the two tools complement each other. Gemini is a general-purpose assistant (I cover it in my Gemini guide), while NotebookLM is designed to dig into a specific set of documents.
What the standard version lets you do
Here are the limits Google lists for the free, standard version.
| Item | Limit |
|---|---|
| Number of notebooks | 100 |
| Sources per notebook | 50 |
| Size of one source | up to 500,000 words |
| File uploaded from your computer | up to 200 MB per source |
As for the number of questions and generations, I’m deliberately cautious. The help page still listed fixed daily quotas, but on August 28, 2026, Google announced a new system of flexible, compute-based limits that reset every 5 hours, rolling out from September 2. In practice, don’t count on a fixed number of requests per day: what you can do depends on what you ask for.
The Google AI Plus, Pro and Ultra subscriptions give increasing levels of access to Gemini Notebook. In the US, Google AI plans start at $9.99 a month with Google AI Plus, and Google AI Pro costs $19.99 a month. I cover the mid-tier plan in detail in my article on Google AI Pro.
As for age: in the US, you need to be 13 to manage your own Google account and use Gemini (some features are 18+). To subscribe to a Google AI plan, you need to be at least 13, and some features require 18.
How to use NotebookLM step by step
- Sign in to Gemini Notebook (NotebookLM) with your Google account.
- Create a notebook and give it a clear name, like “October budget meeting” or “History review chapter 4.”
- Add your sources: upload your documents and files. One notebook per topic is the rule I follow.
- Read the initial summary and look at the source list to make sure everything was picked up.
- Ask your questions in the chat, spelling out what you expect.
- Click the citations to reread the original passages.
- Generate materials if you need them: audio overview, flashcards, quiz, slide deck.
- Save the useful answers so you don’t lose them.
Choosing your sources well
The quality of the answers depends directly on the quality of the sources. A few principles I follow:
- Add only documents relevant to the question you’re working on: a catch-all notebook gives fuzzy answers.
- Go for up-to-date documents and, if possible, put the date in the file name.
- Avoid duplicates and multiple versions of the same document, which may contradict each other.
- Name your files clearly: it makes the citations easier to read.
Keeping your notebooks organized over time
With up to 100 notebooks available, the risk isn’t running out of room, it’s getting lost. Here are the habits that, in my experience, make the difference:
- A notebook name that starts with the project or subject, then the time period (“Smith client – 2026 quote”).
- A starter note in each notebook, spelling out the goal and the questions to cover.
- Regular cleanup: I remove sources that are no longer useful rather than piling on new ones.
- Deleting a notebook once the project is over, especially if it contains sensitive documents.
These little rules seem obvious, but they make answers more accurate and keep you from mixing documents that have nothing to do with each other.
Ready-to-copy prompts for working with your documents
NotebookLM understands plain-language requests, like any assistant. But because it relies on your sources, some phrasings work especially well. If you want to get better at wording your requests, read my guide on how to write a good prompt.
Get to know a set of documents
Walk me through these sources: what each one is about in two sentences, what the common themes are, and which documents I should read first if I only have an hour.
Get a targeted summary
Summarize these documents so I can [goal: prepare for a meeting / make a decision / explain the topic to a coworker]. Organize it into 5 points, from most to least important, and cite the source for each point.
Spot contradictions
Compare what the different sources say about [topic]. Where do they agree? Where do they contradict each other? Present the result as a table with the source for each claim.
Pull out specific information
List every date, deadline and dollar amount mentioned in these documents, with the source and one sentence of context for each.
Find what’s missing
Based on these sources, what important questions about [topic] remain unanswered? What should I look up or ask to round out the file?
Fact-check a claim
Do the sources support this claim: "[claim]"? Answer yes, no or partially, then quote the exact passages that back it up. If the sources don't mention it, say so clearly.
That last prompt is one of my favorites: it forces the tool to separate what’s in the documents from what isn’t.
Generate materials from your sources
Beyond the chat, NotebookLM can turn your sources into different formats. Google mentions, among others:
- Audio Overviews, audio summaries of your documents to listen to;
- Video Overviews, video summaries;
- Slide Decks;
- infographics;
- reports;
- flashcards and quizzes.
These formats are especially useful for learning. Take Chloe, a college student studying for a midterm from her lecture notes, three articles and her own notes: she can put it all in one notebook, ask for a summary by chapter, then generate flashcards and a quiz to practice. On September 15, 2026, Google also announced new learning features and the ability to have real-time conversations with your notebooks.
To prepare these materials, I recommend guiding the tool:
Create a 10-question quiz from these sources, at a [beginner / intermediate / advanced] level, with the correct answer and the source for each question.
Create flashcards on the key concepts in chapter [X], one concept per card, with a short definition and an example taken from the sources.
On the advanced side, Google also announced on July 16, 2026, a secure “cloud computer” that can run code and do advanced analysis, first for Ultra and Workspace subscribers, then rolling out to Pro. If you work with numerical data, check whether this feature is available on your account.
My four-step method for working through a set of documents
When I tackle a large set of documents, I always go in the same order. This method keeps you from drowning in answers and lets you stay in control of what you take away.
1. Map it out
I start with the big picture, without looking for details. The goal is to know what’s in the documents and what’s missing.
List the topics covered in these sources, grouped by theme. For each theme, tell me which sources discuss it and which ones are the most thorough.
2. Dig deeper
Next, I take one theme at a time, with specific questions. I always ask for citations, and I reread any that surprise me.
Explain in detail what the sources say about [theme], as if I were new to the subject. Define technical terms and quote the most important passages.
3. Challenge it
Then it’s time to test how solid my understanding is. This is where the comparison and fact-checking prompts really prove their worth.
Here's what I took away from these documents: [your conclusions]. Is this faithful to the sources? Point out anything inaccurate, exaggerated or not in the documents.
4. Produce
Finally, I turn the work into something useful: a one-page summary, a list of decisions to make, flashcards or a presentation.
Based on these sources, write a one-page memo for [recipient], with the background, the three key points, the things to watch out for and the next steps. Cite the source for each piece of information.
If the result needs reworking (tone, length, style), I then paste it into a general-purpose assistant to rephrase it. But the substance stays grounded in the documents, and that’s the whole point.
Real-life use cases
- Prepping for a meeting: gather the previous meeting’s minutes, the working document and the key emails, then ask for the points that need a decision.
- Studying: lectures, textbooks and notes in one notebook, then flashcards and quizzes.
- Making sense of paperwork: a contract, terms and conditions, letters, then specific questions (“what’s the cancellation notice period?”), checking every citation.
- Organizing your notes: if you take a lot of notes, one notebook per project makes them easy to query. My guide on taking notes with AI pairs well with this approach.
- Preparing an article or a presentation: gather your reading, ask for an outline and the key quotes. For the writing part, see my guide on writing an article with AI.
Limitations and precautions
Grounded in sources doesn’t mean infallible
Citations are a real help, but the AI can misread a passage, link two that have nothing to do with each other or miss a nuance. For anything that matters (a decision, an exam, a legal document), click the citations and reread the original text.
Your answers are only as good as your sources
NotebookLM doesn’t fix a wrong or outdated document: it draws wrong or outdated conclusions from it. Choose reliable, up-to-date sources.
Be careful with confidential documents
Before uploading a document, ask yourself whether you’re allowed to hand it to an online service. Avoid health, banking or very personal data, and for work documents, follow your employer’s rules. If documents contain information about other people, be especially careful.
Usage limits are changing
With the move to flexible limits, the number of questions or generations you get varies depending on what you ask for. If you hit a limit, quotas reset on a 5-hour cycle.
Respect copyright
Summaries and materials generated from books, articles or courses are meant for your own study or work. Before sharing them, make sure you have the right to.
Frequently asked questions
Are NotebookLM and Gemini Notebook the same thing?
Yes. On July 16, 2026, Google announced that NotebookLM is now called Gemini Notebook. It’s the same standalone product, more tightly integrated with Gemini and the Google ecosystem.
Is NotebookLM free?
Yes, a standard version is available with a Google account: up to 100 notebooks, 50 sources per notebook and sources of up to 500,000 words. The Google AI Plus, Pro and Ultra subscriptions give higher levels of access. My guide to free Gemini covers what Google offers without a subscription.
How is it different from Gemini or ChatGPT?
NotebookLM works from the sources you give it and cites the passages it uses. Gemini and ChatGPT are general-purpose assistants that can also read your files, but they aren’t built around a set of documents. For a single PDF, a regular assistant is often enough; for a folder of several documents, I find NotebookLM more comfortable.
How many questions can I ask per day?
There’s no longer really a fixed number to remember. Since September 2026, Google has been rolling out flexible, compute-based limits that reset every 5 hours. So how many requests you get depends on what you ask for.
How old do you have to be to use NotebookLM?
You need a Google account: in the US, you can manage your own account from age 13. To subscribe to a Google AI plan, you need to be at least 13, and some features require 18.
Can I trust the answers?
More than a chatbot without sources, since every answer points to the passages used. But not blindly: reread the citations for important topics, and keep a critical eye on the quality of the sources themselves.
The bottom line
NotebookLM, now called Gemini Notebook, is one of the most useful tools for working on your own documents with AI. Create one notebook per topic, add reliable and up-to-date sources, ask specific questions, check the citations, then turn your documents into summaries, flashcards, quizzes or audio overviews. Just keep in mind that its answers are only as good as your sources, and that reviewing them is still a must.
To organize the material you’ll put in your notebooks, check out my guide on taking notes with AI.